以下の手順に沿ってやれば簡単にReactの環境構築を行うことができます!
魔法のコマンド:create-react-appを実行する
ターミナルで、npx create-react-app プロジェクト名とコマンドを打てば指定したプロジェクト名のフォルダが作られ、その中にReactで開発するためのファイルがごっそり作られます。
今回は試しに「react-practice」というプロジェクト名で作成してみます。
$ npx create-react-app react-practice↓(コマンドの実行結果)
npx: 67個のパッケージを9.913秒でインストールしました。

Creating a new React app in /Users/asakura1041/asakura_pj/react-practice.

Installing packages. This might take a couple of minutes.
Installing react, react-dom, and react-scripts with cra-template...

...省略...

Success! Created react-practice at /Users/asakura1041/asakura_pj/react-practice
Inside that directory, you can run several commands:

  yarn start
    Starts the development server.

  yarn build
    Bundles the app into static files for production.

  yarn test
    Starts the test runner.

  yarn eject
    Removes this tool and copies build dependencies, configuration files
    and scripts into the app directory. If you do this, you can’t go back!

We suggest that you begin by typing:

  cd react-practice
  yarn start

Happy hacking!
上記のようになれば、Reactの開発に必要な諸々のファイルがインストール完了です。
Reactの開発環境を立ち上げる
前項で作成したReactプロジェクトのディレクトリに入って「yarn start」もしくは「npm start」とコマンドを実行します。
※「yarn」「npm」はぶっちゃけどちらを使っても大丈夫です
[tanaka@taro:~/] $ cd react-practice
[tanaka@taro:~/react-practice] $ yarn start  #or npm start
ターミナルが勝手に切り替わって以下のように表示されれば立ち上げ成功です。
Compiled successfully!

You can now view react-practice in the browser.

  Local:            http://localhost:3000
  On Your Network:  http://192.168.119.232:3000

Note that the development build is not optimized.
To create a production build, use yarn build.
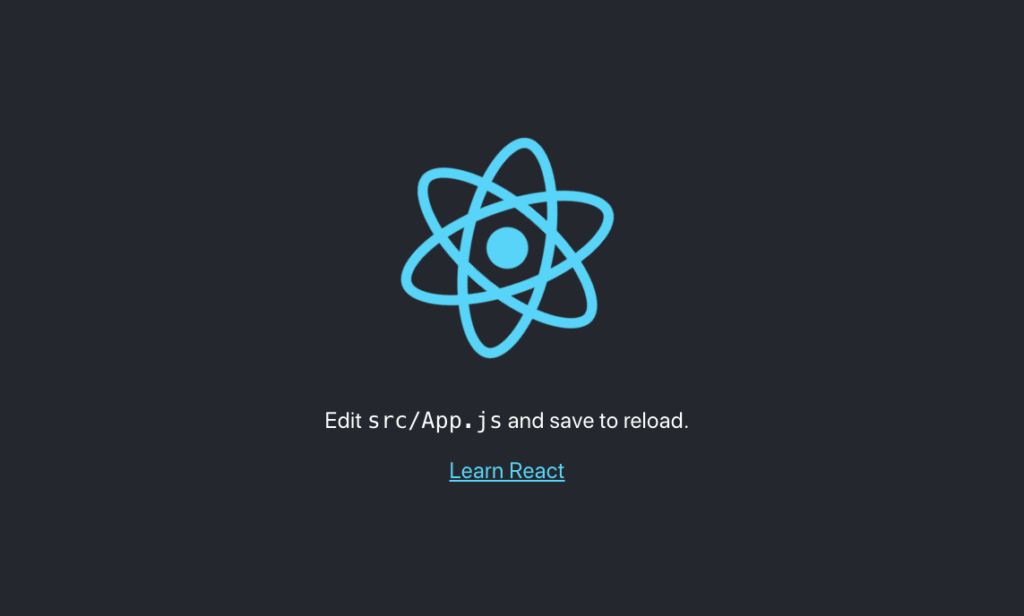
また、ブラウザの方も勝手にタブが開いて以下の画面になると思います。

以上でReactの環境構築は完了です。ちなみに開発環境を閉じたい時は「cntrol + c」で閉じれます。
ものすごく簡単にできて、さすがFaceBook様という感じですね!

